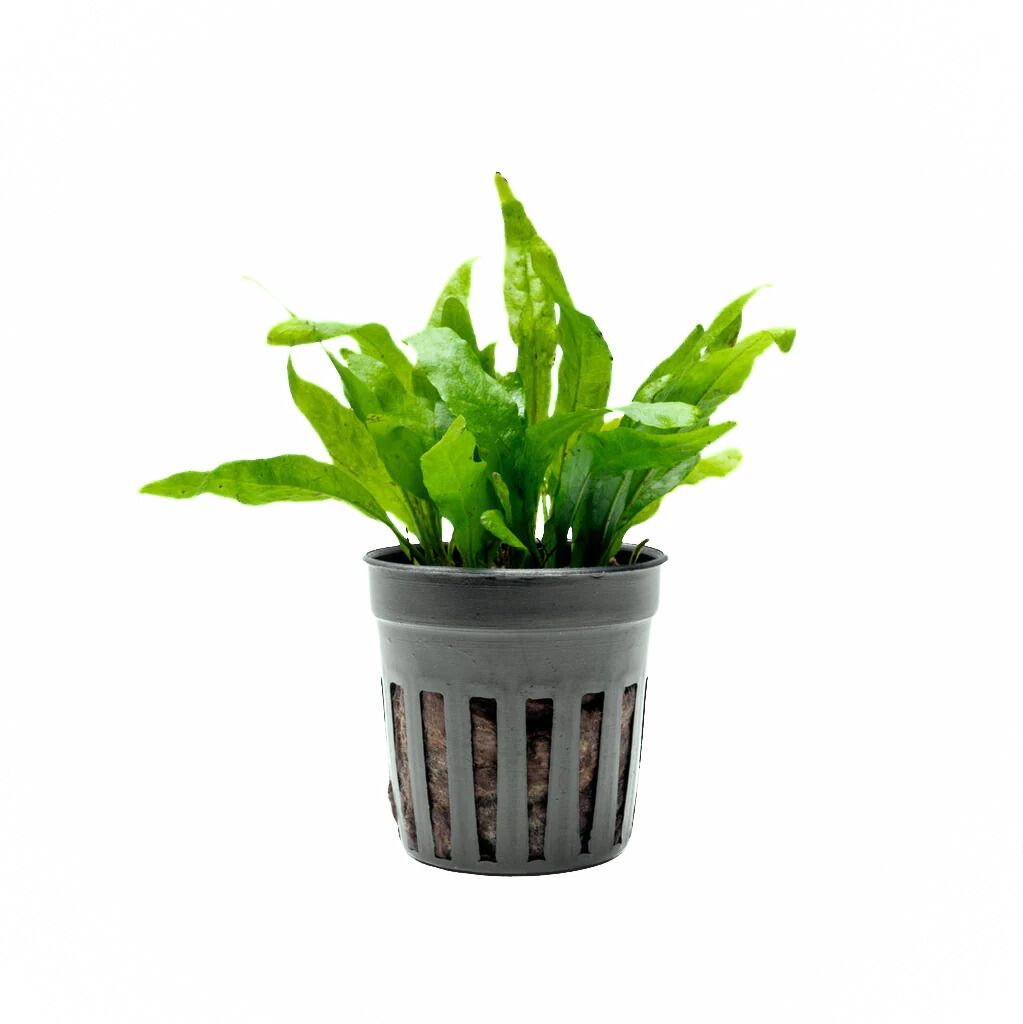
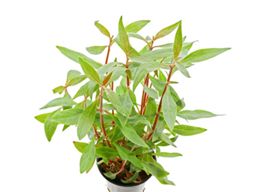
Java Fern Narrow (Microsorum pteropus)
- Scientific Name: Microsorum pteropus
- Native To: Southeast Asia
- Skill Level: Easy
- Placement: Attach to rocks, wood, or decor
- Recommended Light: Low Light 10-20 PAR
- CO2 Requirement: none
- Preferred Fertilizer: Easy Green liquid fertilizer
- Propagation: Cut rhizome and split into two plants
***Being a natural product, sizes can vary from what is shown.***
How to Plant Java Fern in Aquarium
1. Remove the potted plant from plastic basket, and split the rock wool in half.
2. Carefully remove the plant roots from the rock wool. The java fern can be planted as one single plant or gently separated into smaller plant clumps by snapping apart the rhizome.
3. Insert each plant clump between a crack in a rock or more firmly attach them to decor using super glue gel. Be careful not to bury the rhizome or the plant may suffer.
How to Care for Java Fern
— Java fern care is very easy, so start by using low lighting between 10-20 PAR. Too much light may cause burning or excess algae growth, so if you are using a brighter light, consider placing the java fern further away from the light or under the shade of taller or floating plants.
— Why is my java fern turning brown? It may be a nutrient deficiency, so measure the nitrate level using a multi-test strip. Dose with Easy Green all-in-one fertilizer until the water has 20-50 ppm nitrate. If the java fern continues to grow poorly, consider dosing Easy Potassium fertilizer in addition to Easy Green for extra potassium.
— How to trim Java fern: If the java fern has dying or melting leaves, trim them off at the base of the leaf without damaging the rhizome.
For more details, read this article on Java fern care.
How to Propagate Java Fern
— Use a sharp pair of scissors to cut the rhizome and split into two plants. Plant the two sections as normal.
— Another method is to trim off a leaf from the base and leave it in the tank. The dark dots on the leaf will grow into individual, little plantlets that eventually can be planted or moved to another tank.
- Popular beginner plant
- Easy care in low light
- Hardy leaves
Java fern is hands down one of the most popular plants in the aquarium hobby. It is a slow grower and will thrive even in low light aquariums. Its thick, long leaves provide excellent cover for fish and fry, and they can often survive in goldfish and African cichlid tanks. It can produce baby plants from dots on the undersides of its leaves, which can be removed and replanted if desired.
